Part 1: Final Project Proposal
Concept
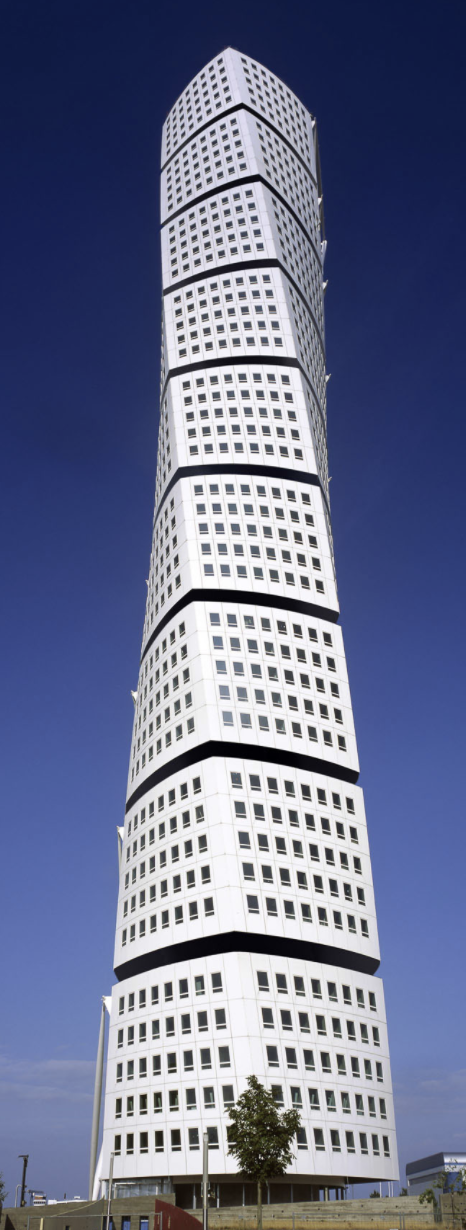
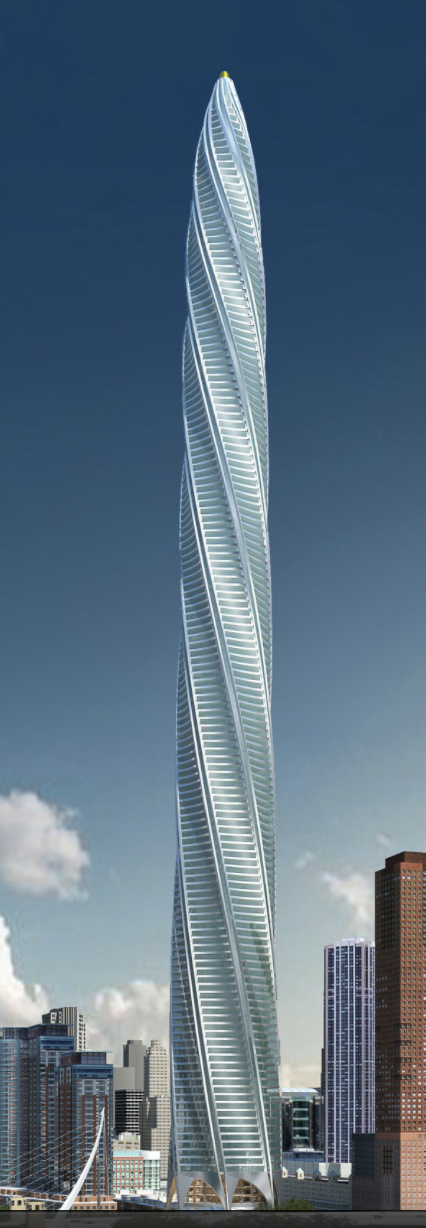
For my final project I wanted to create a series of pieces. After much thought I decided I wanted to make two sets of chess pieces. Santiago Calatrava is one of my favorite architects and his projects, Turning Torso and Chicago Spire, were the design inspirations for this project. The aim is to create a more sculptural and modern version of classic chess pieces.
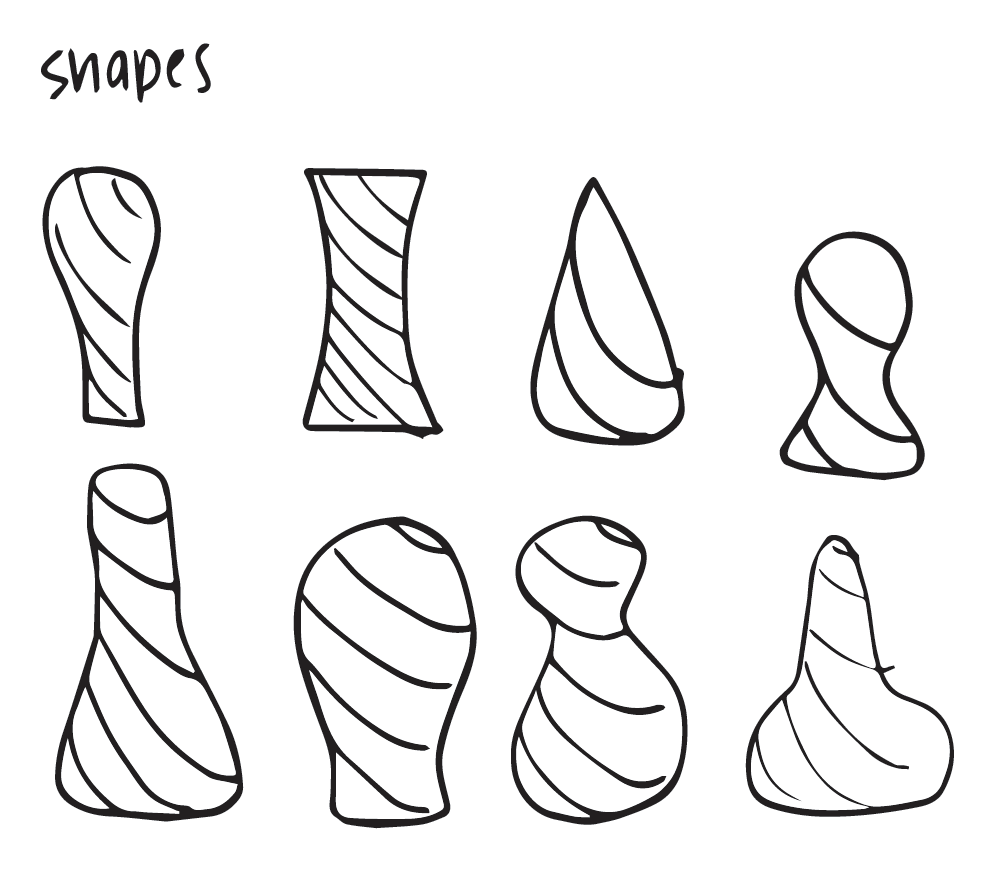
I started with some general shape ideas. I wanted to make sure the sets looked cohesive but not duplicative. Also, I wanted to make sure my shapes were a realistic size so I looked up guidelines for chess piece size and chess board size. Once I had my ideas and sizes, I started building the Grasshopper geometry.
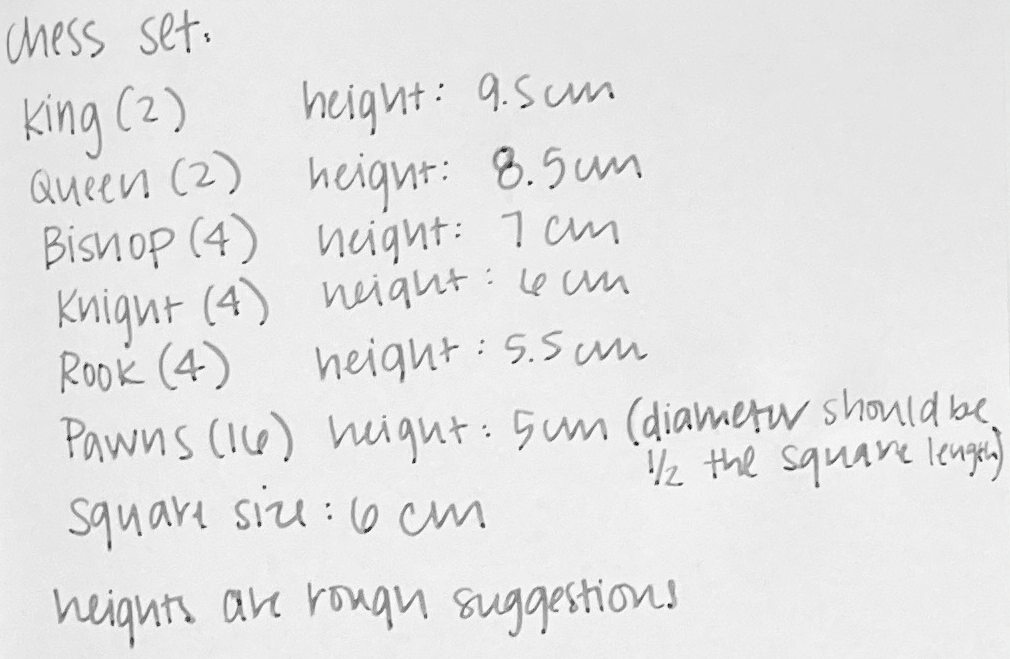
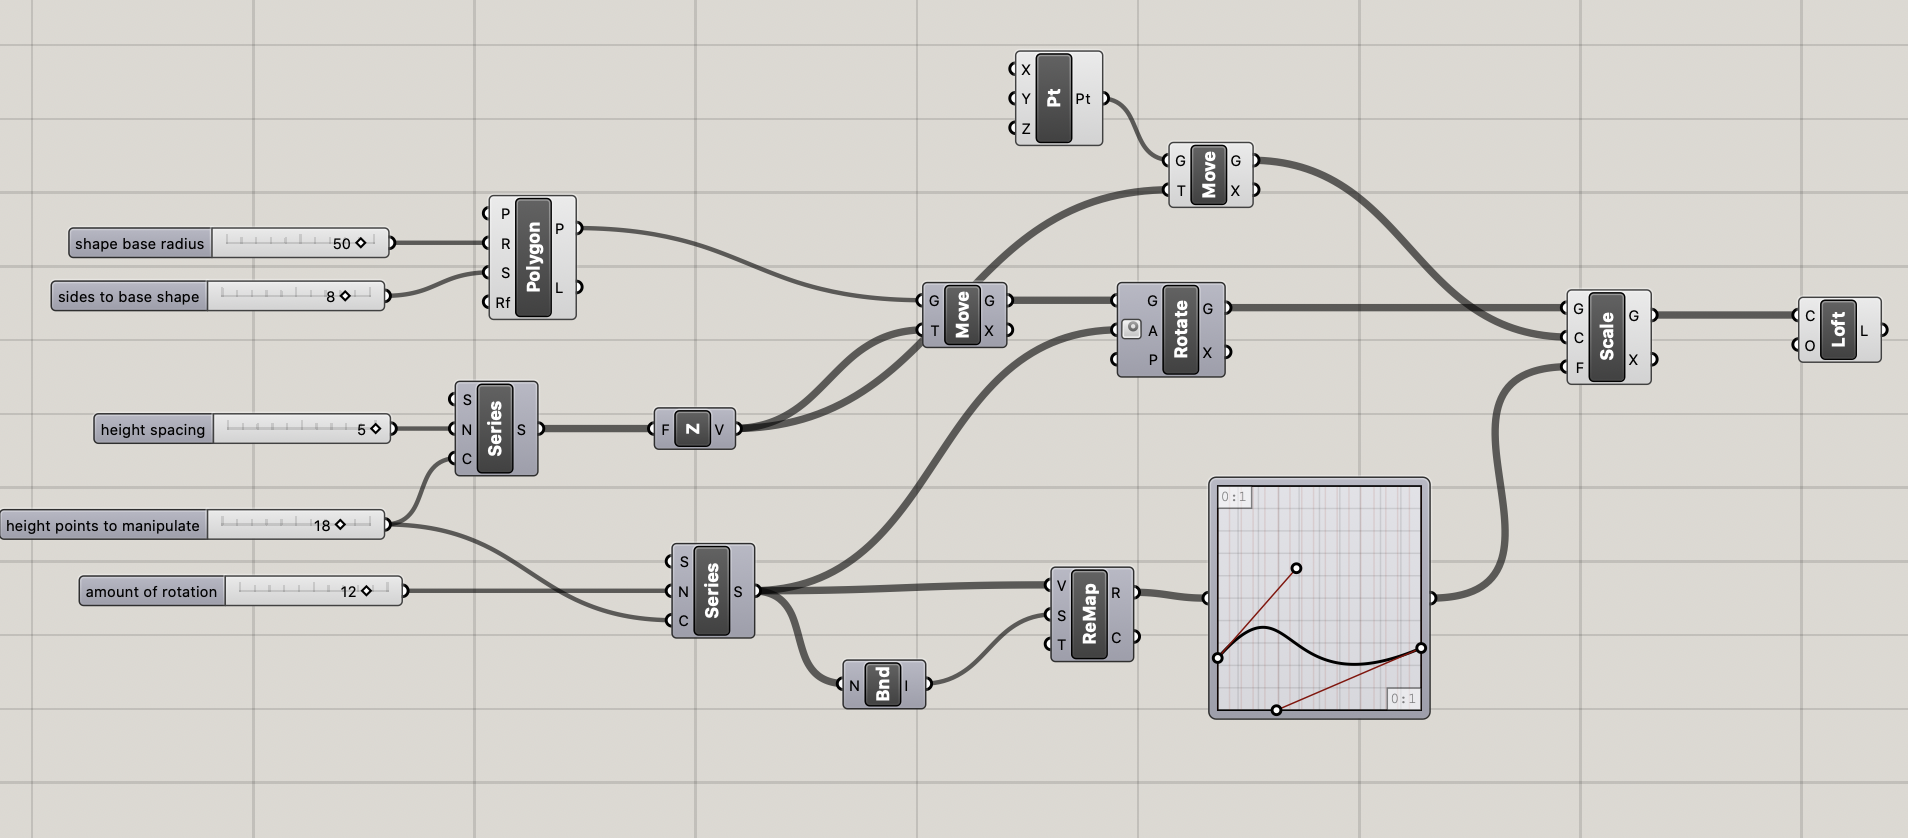
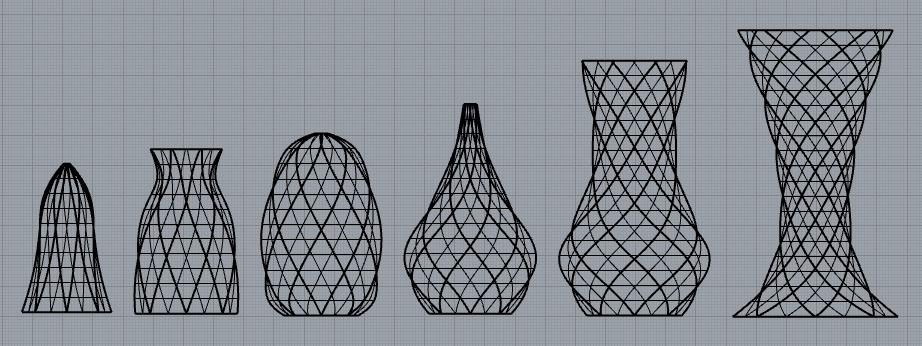
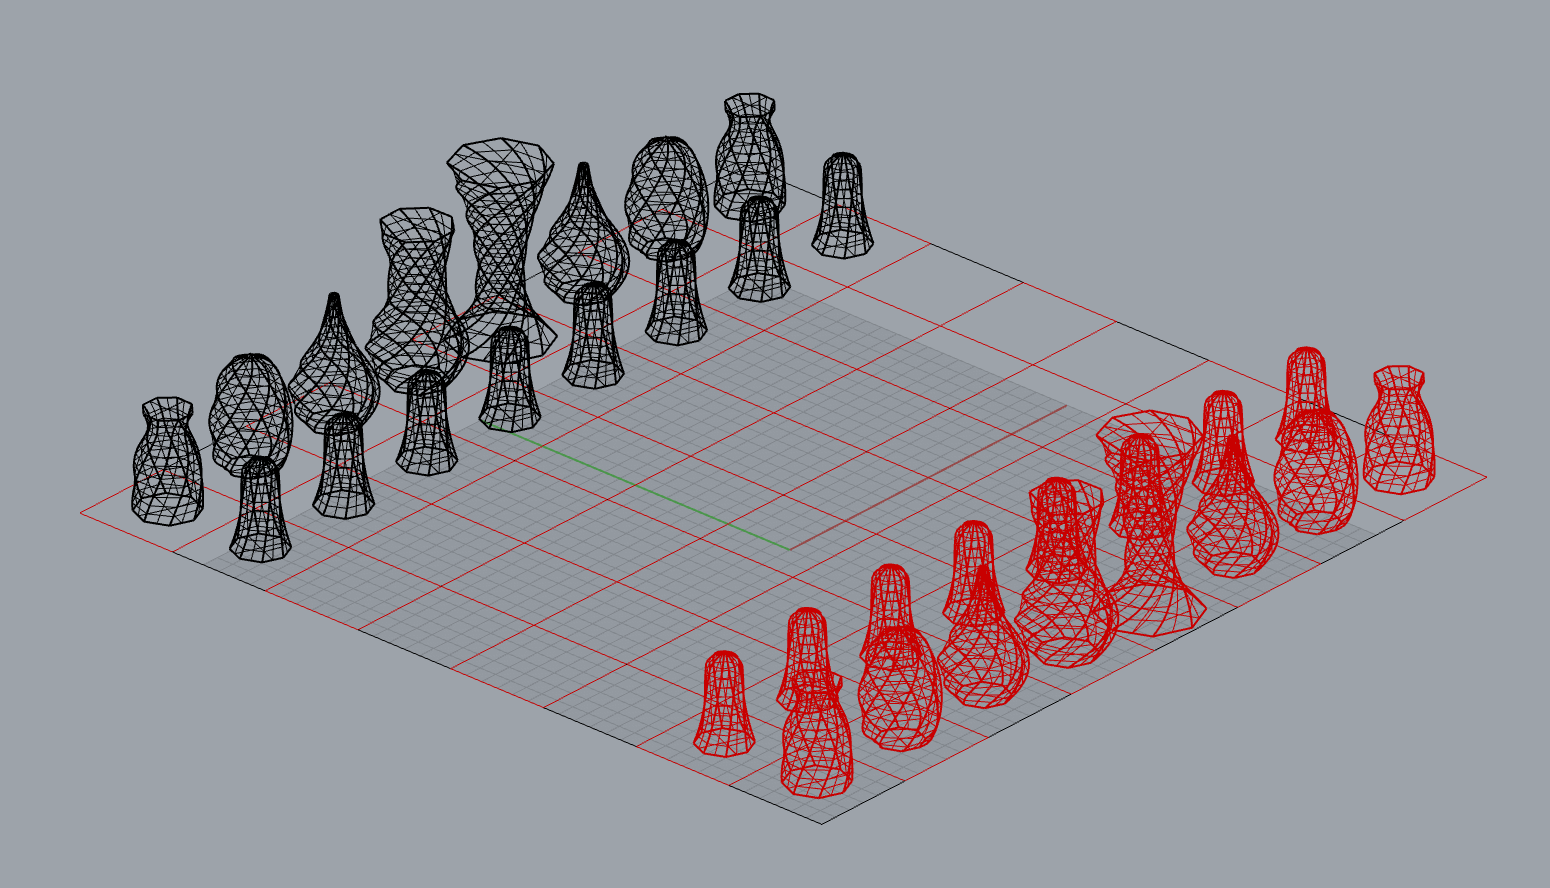
Since I am still pretty new to Grasshopper, I had to find a tutorial that would help me undestand how to build these pieces. (See below in References for a link to the video.) My plan was to start with one piece in Grasshopper, and then model the other pieces based on the same geometry. I set up number sliders for the number of sides which I decided would be 8. I also add a slider for base radius, the amount of rotation, the height, and the height spacing. Because all piece sizes were increments of .5cm, I was able to set the spacing between 10 -20 to adjust the height. I discovered that I had to add an extra .5 to every height because the first point was at 0. For the rotation, I orginially didn't have a strategy for how it was used, but then I realized my pieces weren't looking cohesive so I decided that I would change the rotation of each piece by 2 based on the weakest piece to the strongest piece in the game. The other component that was critical to this success was the graph mapper. Because I was pretty unfamiliar with how the graph mapper worked and the types of graphs, I spent some time playing with the different graph types and figuring out which one worked best for the shapes I was trying to create. (Below is the Grasshopper geometry for the queen piece). Once I had all pieces modeled, I transferred all pieces to one Rhino file so I could see them all together as a set. I realized the slider I had for radius was base radius and not the widest radius of the piece, so I had to do some minor adjustments to make sure the pieces were accurately scaled in reference to each other. Next, I had to use the Flip command for all of the pieces, followed by the Cap command to close the pieces and make closed polygons. Then I made a chess board to begin alignment for rendering. After the pieces were set up for a chess set, I then divided the sets into two different layers so I could render them separately.
Rendering
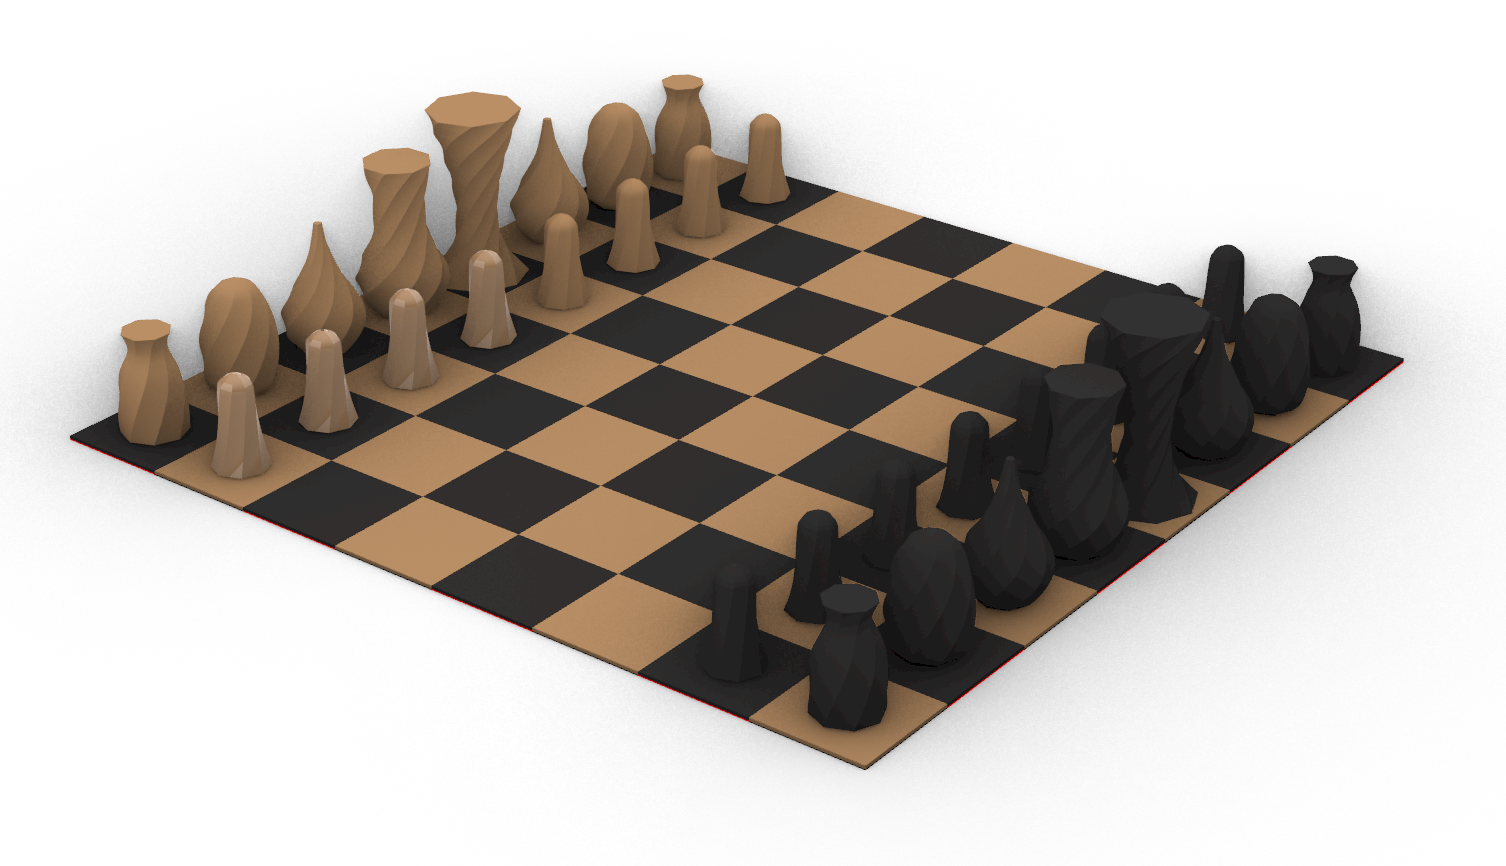
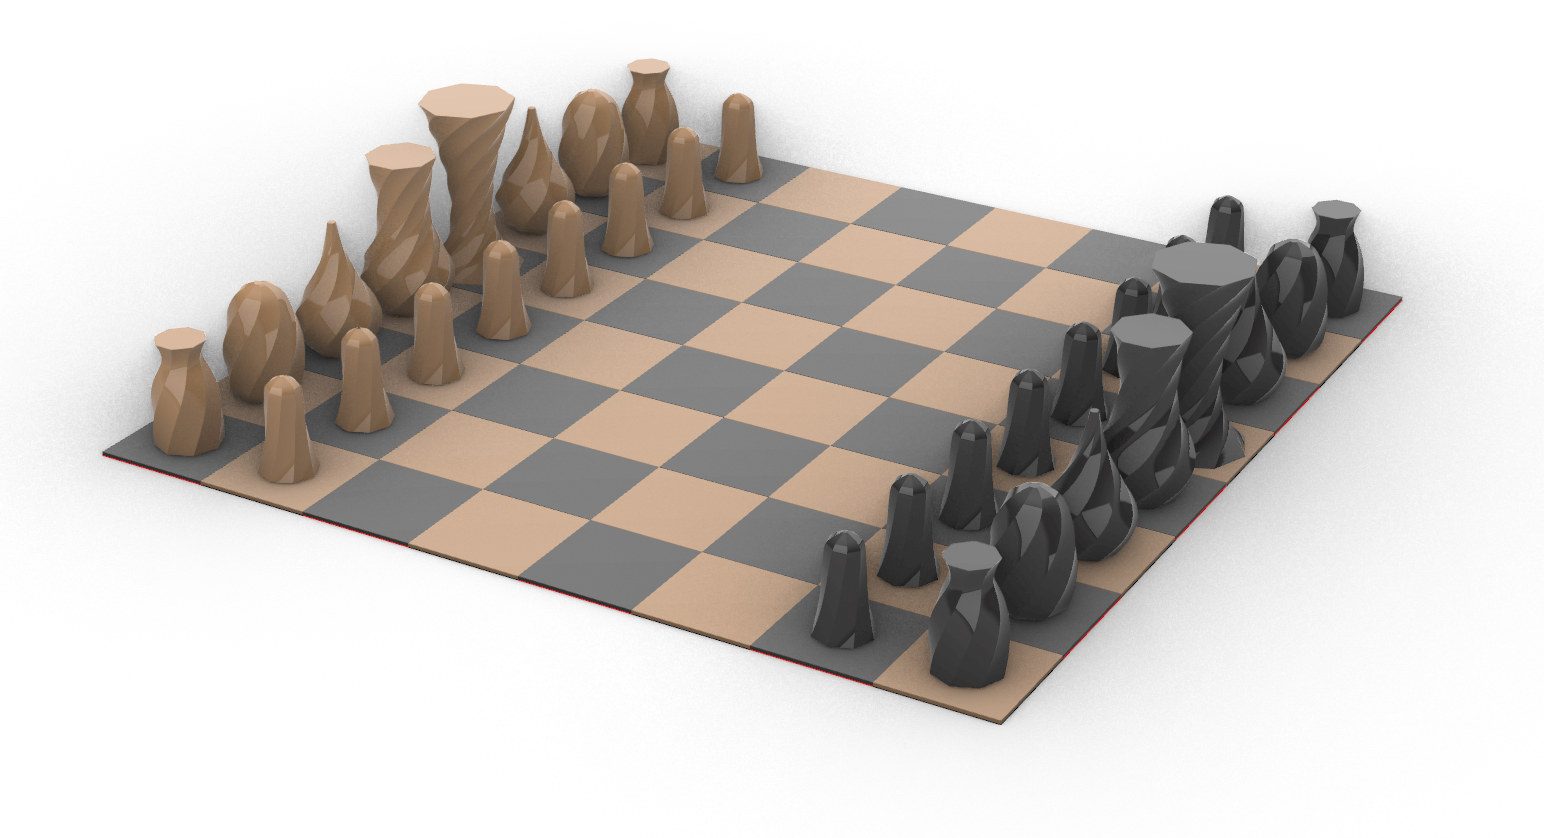
Below is a rendering of the intended final design. I hope to create one set that is bronze and one set that is black, both in PLA filament. Due to time and print bed constraints, I do not plan to build the chessboard at this time, but wanted to include it in the rendering for context. The one on the left is the plaster render, and the one on the right is the plastic render.
Tasks
GRASSHOPPER
For this project, I want to strengthen my Grasshopper skills. After watching a tutorial online about how to create rotating
shapes in grasshopper, I want to build all of my shapes in Grasshopper instead of sketching in Rhino and using the Revolve command. Grasshopper
is used to create the height, the base radius, the rotation of the object, and using graph mapper to create unique shapes.
RHINO
Post bake, Rhino is used for flipping, capping, and aligning all pieces. It is also used for any last minute size adjustments, and
for setting up the chessboard for rendering.
SLICING
Because of the intricate, rotating, bulbous shapes, choosing the correct slicing settings will be critical to
a successful print. Choosing the correct print speed and support will be critical to the success of the prints.
PRINTING
In total, there will be 32 pieces to print: 16 pawns, 4 rooks, 4 knights, 4 bishops, 2 queens, and 2 kings. Instead of doing 32
separate prints, I will print in 3 groups for each set:
1. 8 pawns
2. 2 rooks, 2 knights, and 2 bishops
3. king and queen
RENDERING
Because there are so many pieces to these sets, and they are two different colors, rendering is helpful to show a more realistic view of
what these pieces should look like when finished.
Timeline
As shown above, the design and rendering for this project is complete. For this process I plan to 3D print each set in 3 groups each. The first group will be all 8 pawns (approximate printing time: 4 hrs. and 15 mins.). The second set will include both bishops, both knights and both rooks for a total of 6 pieces (approximate printing time: 6 hrs and 15 mins.).The third set will be the king and queen (approximiate printing time: 8 hrs.).Total print time for each set is about 18.5 hours.My goal is to print a complete set each week. To give myself some extra time in case something goes awry, I plan to have the first set finished by Monday, May 24th, and the second set by Monday, May 31st, giving myself 2 extra days each week for adjustments. If I get completely off track for this project and the printing goes sideways, my contingency plan is to print one set instead of two.

BOM and Sourcing Schedule
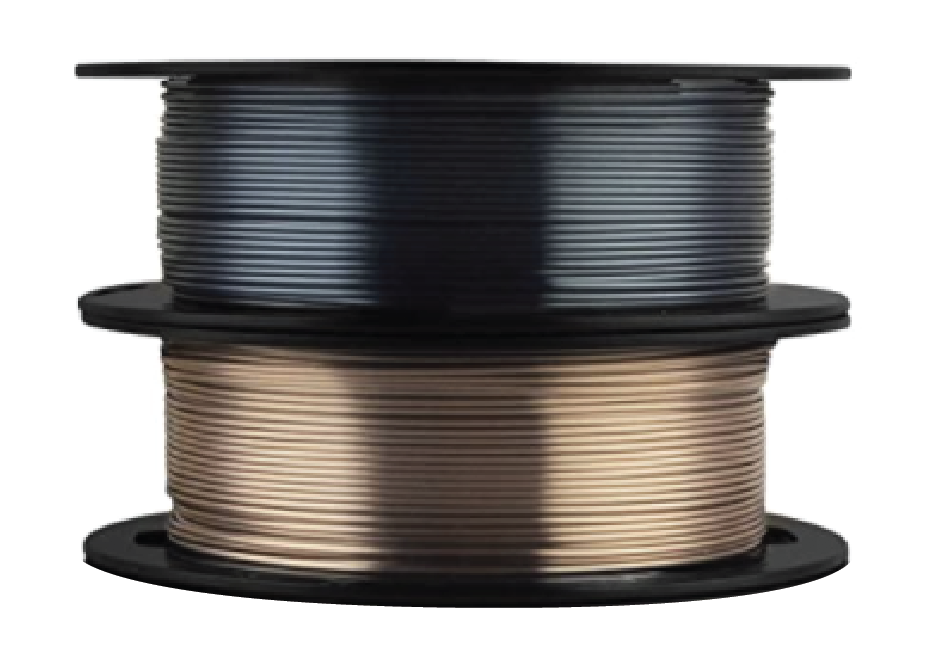
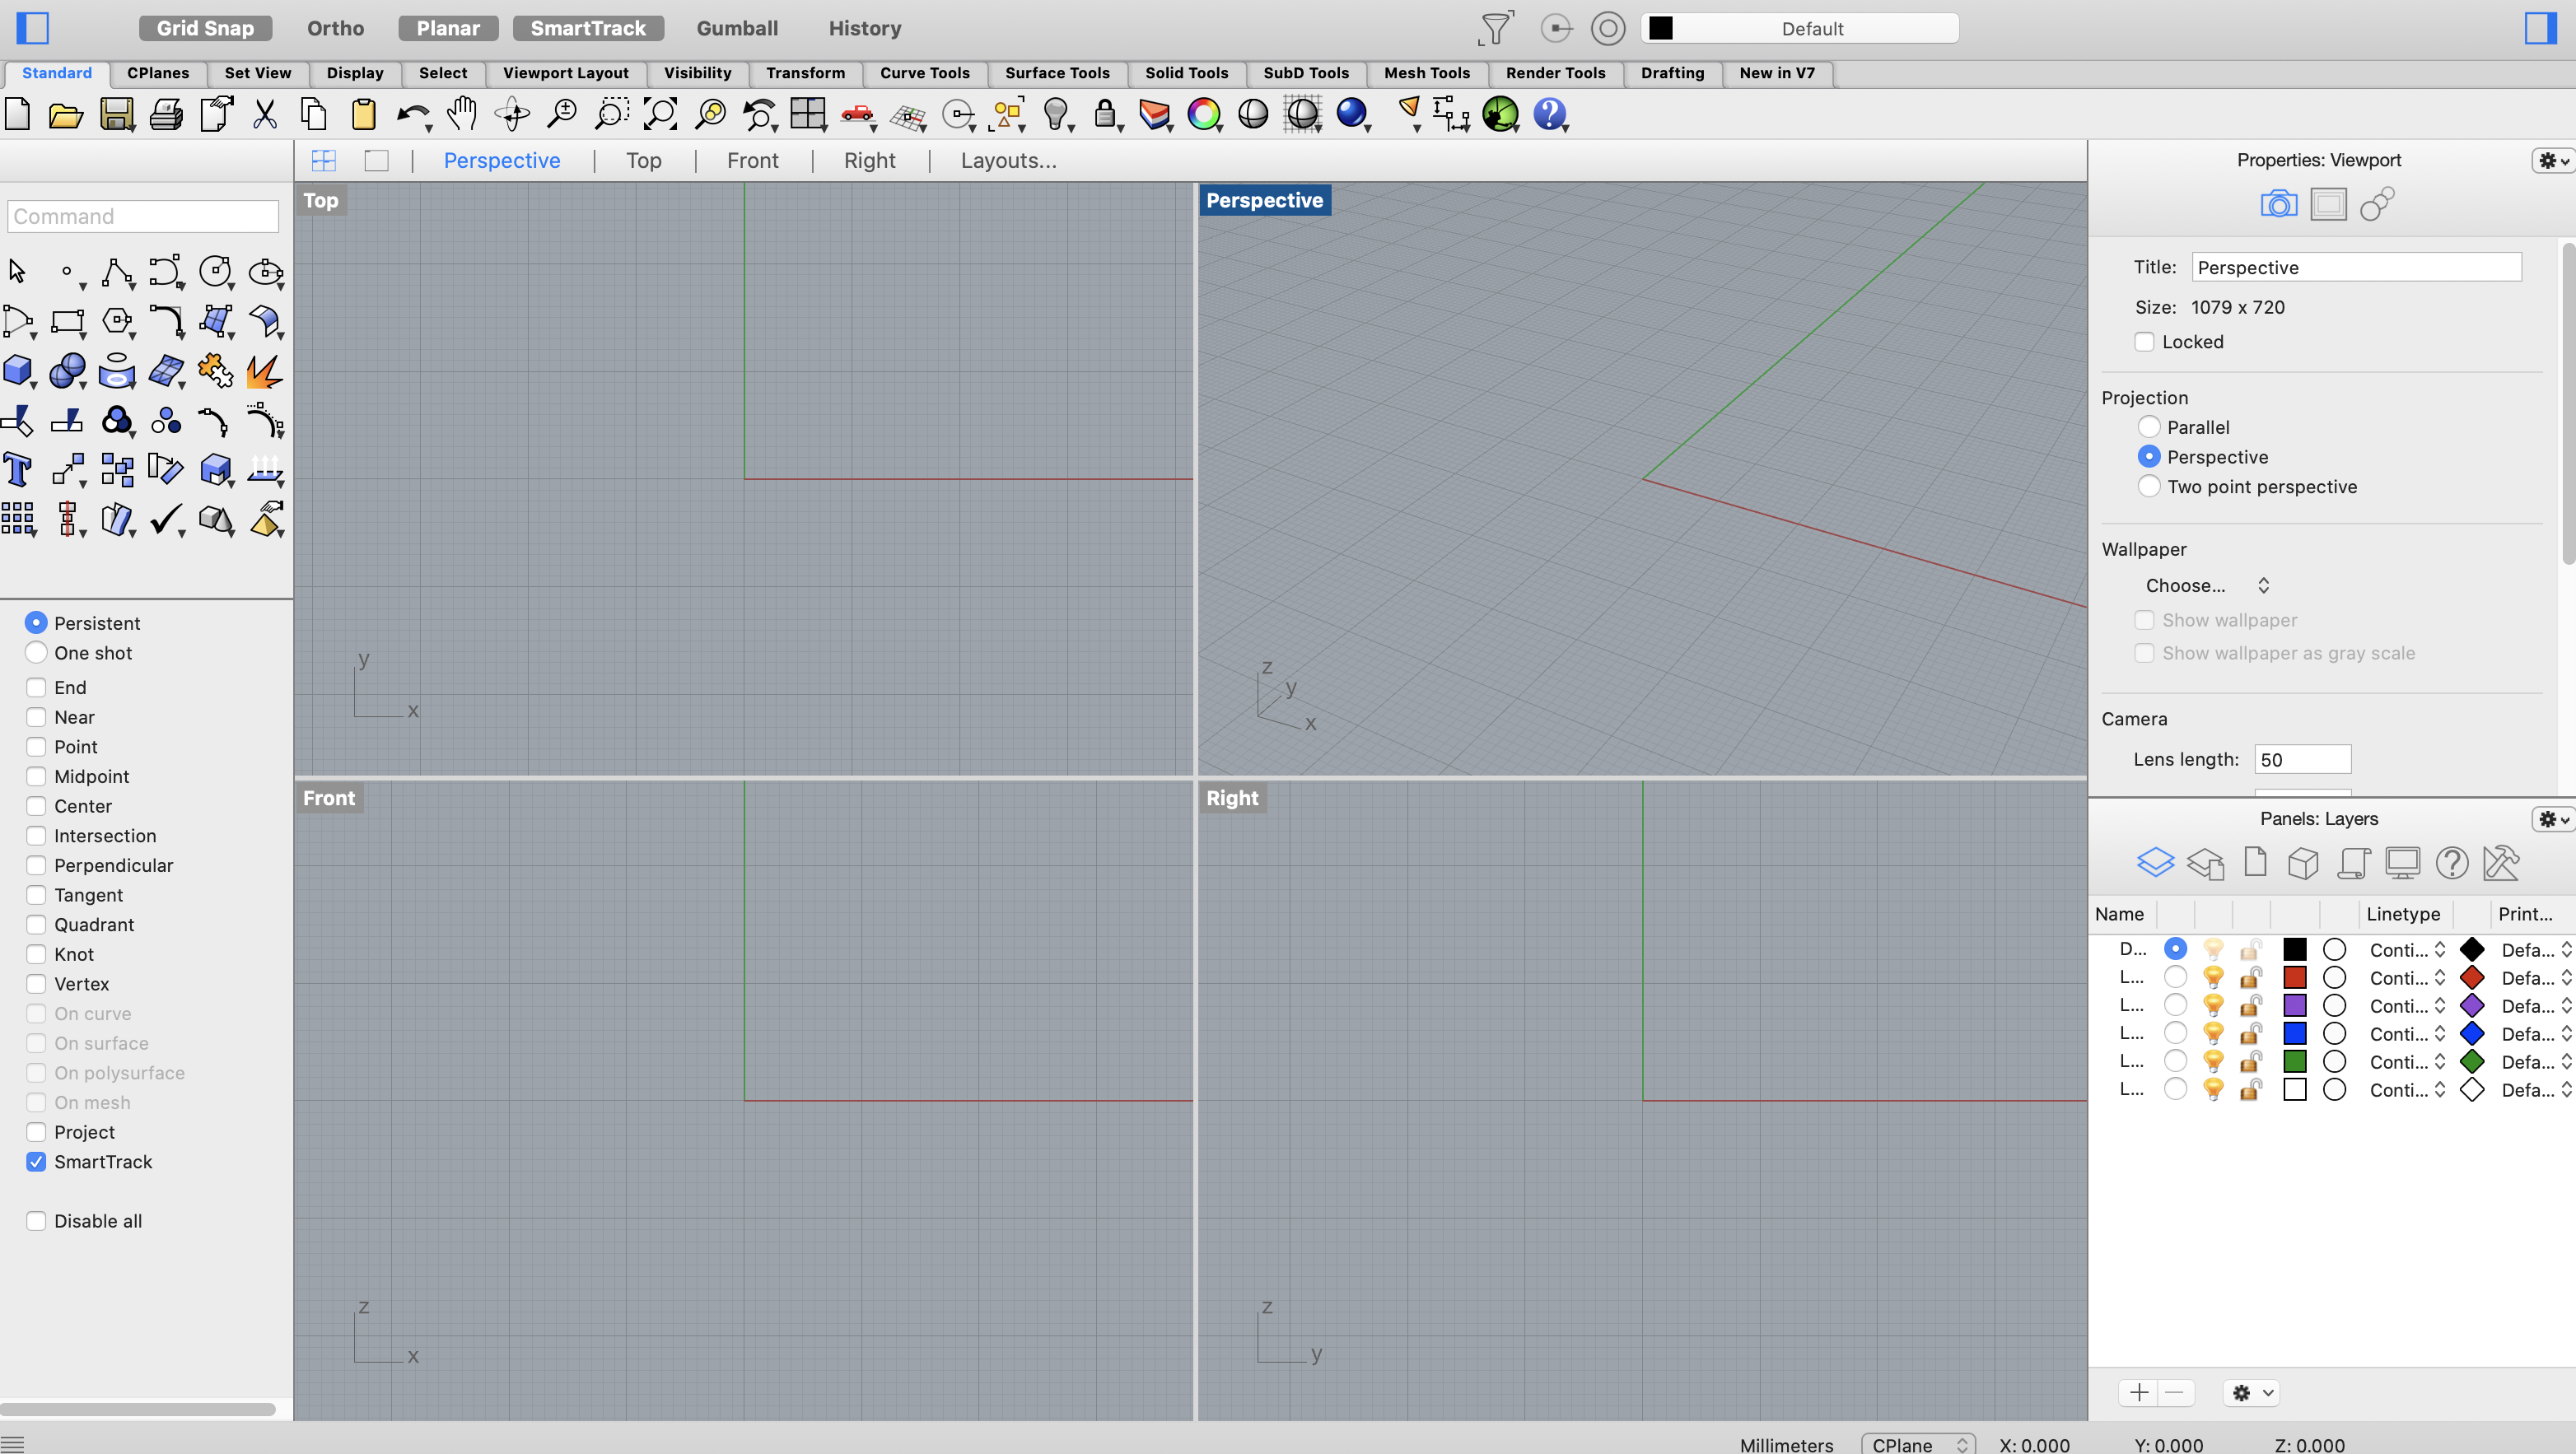
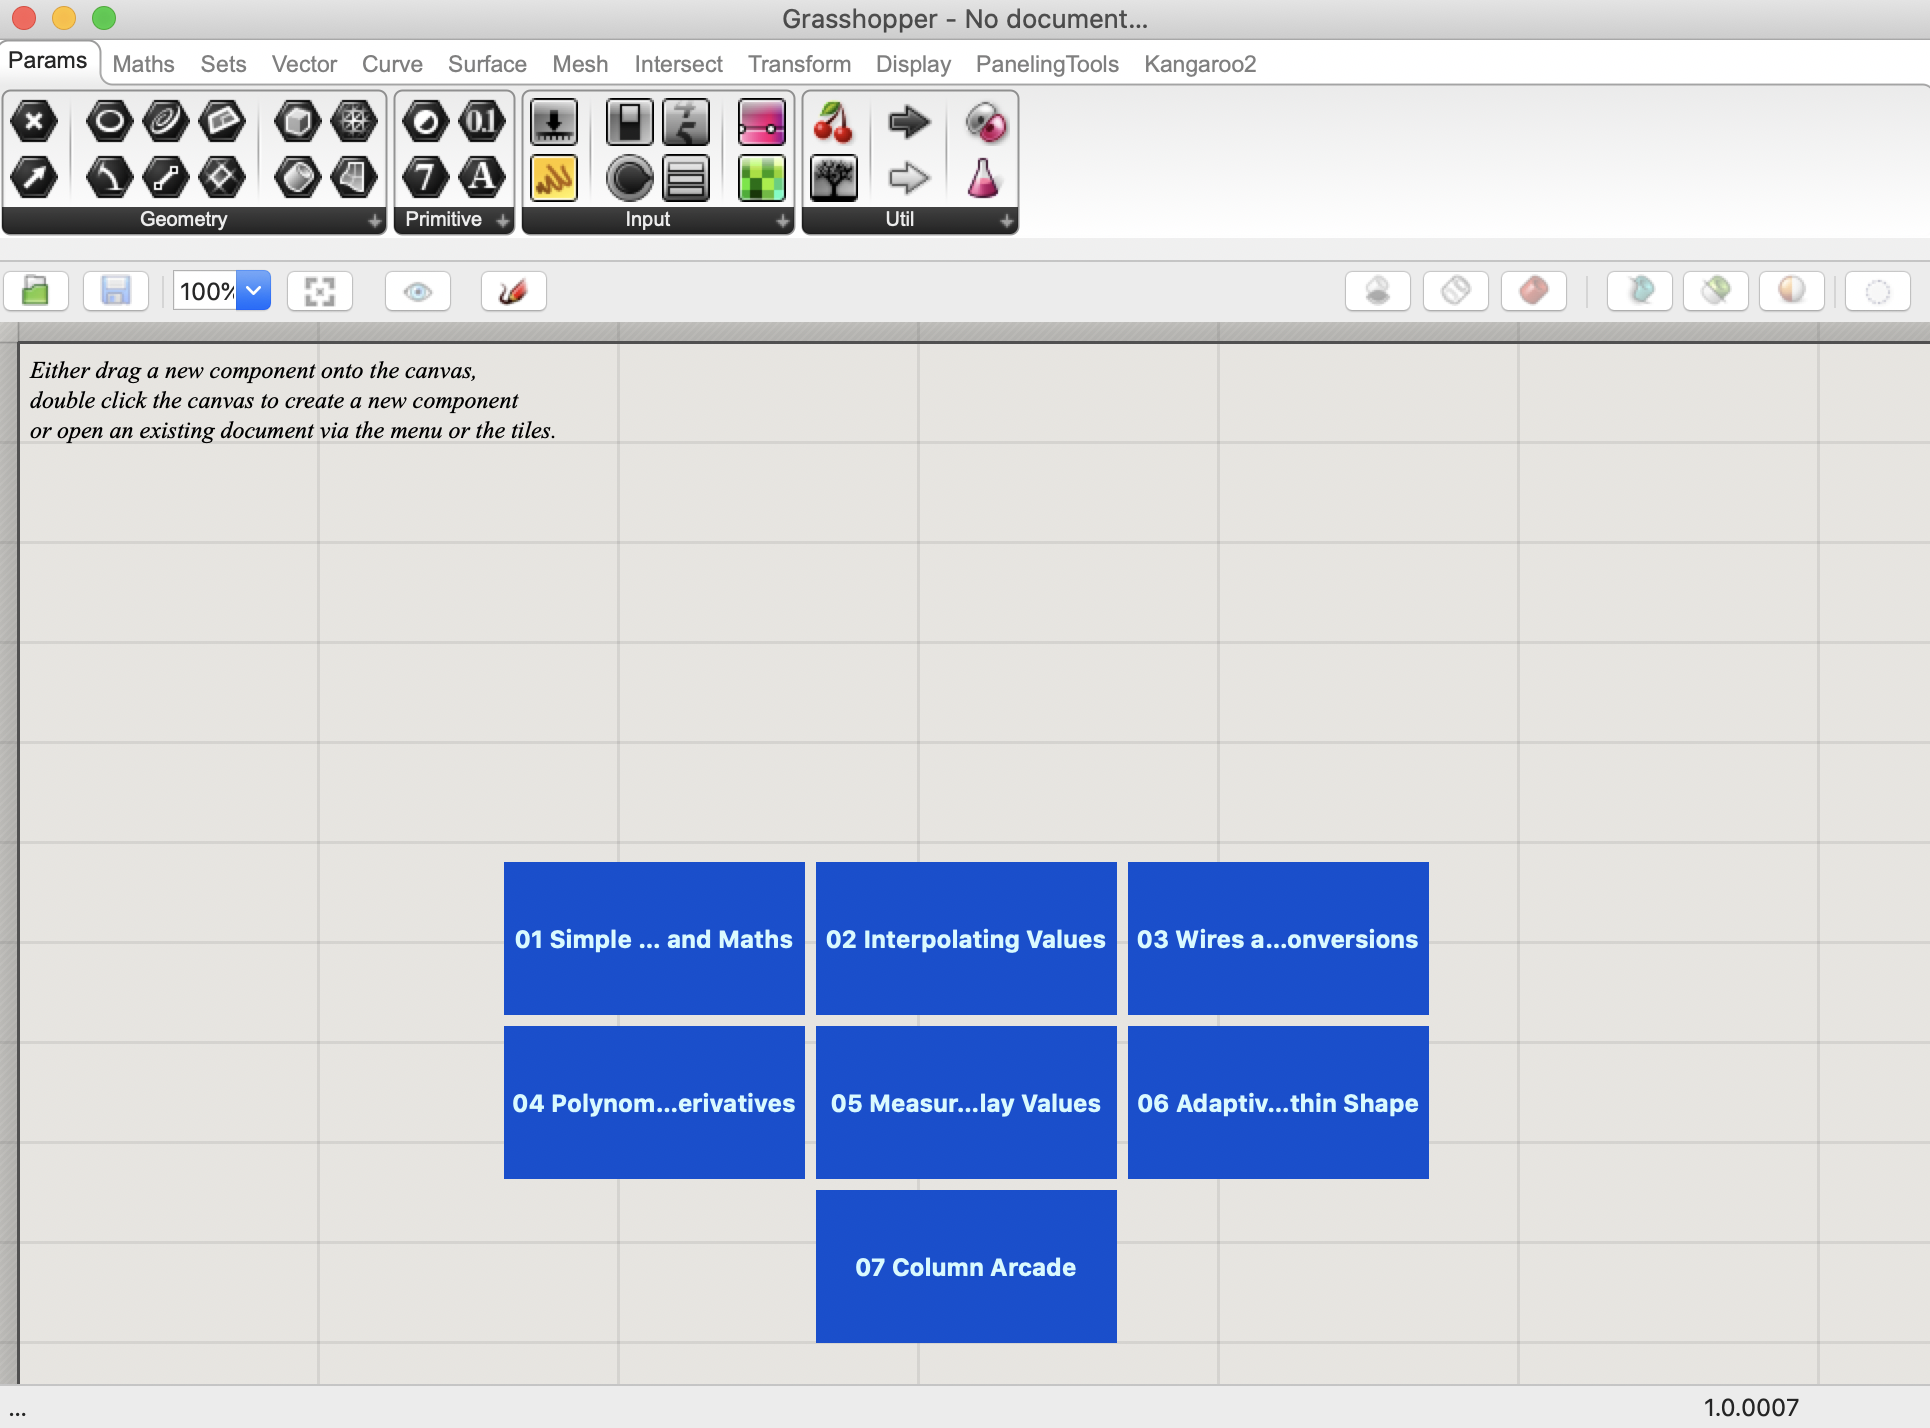
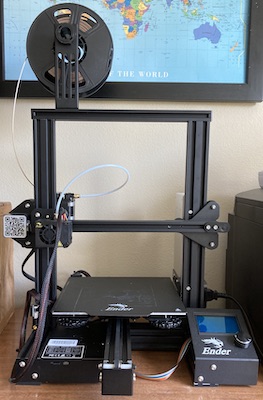
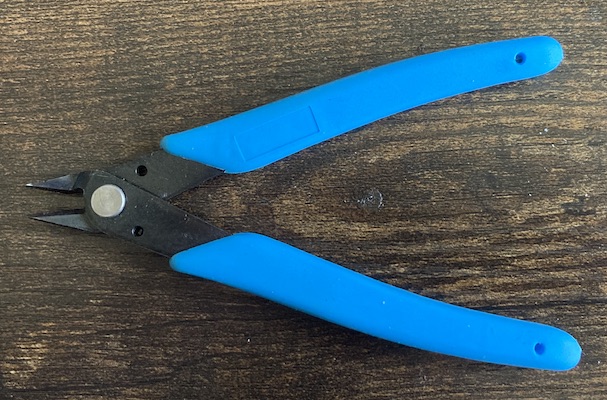
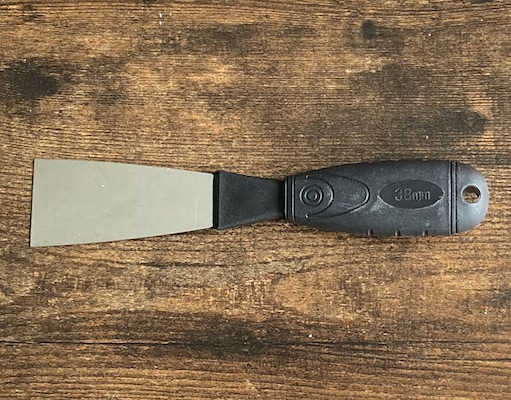
For the physical materials, I intend to use 2 different spools of PLA filament: one is bronze, and the other is black. I will also be using Rhino/Grasshopper to design and render these pieces. I will be using Cura to slice and create the gcode. And I will be printing on an Ender Pro 3 machine. Additionally, I will also be using filament clippers and a bed scraper. All of these materials I currently have on hand.

Thanks Junchao for the rendering and modeling advice!
REFERENCES
Chess Guidelines
Turning Torso
Chicago Spire
Youtube Tutorial
All Grasshopper Models
Rhino Rendering
PLA filament