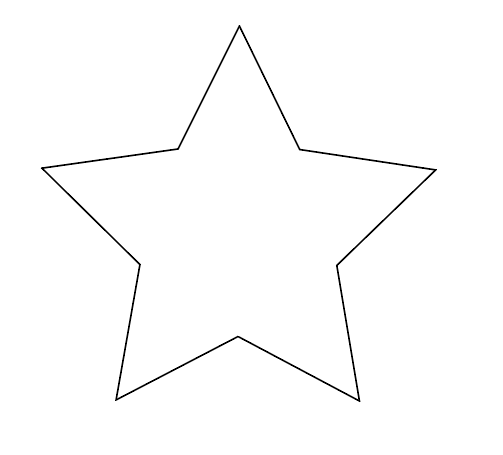
Grasshopper - Clips and Nesting
I must admit, learning Grasshopper in class last week was a little intimidating, but once I had time to experiment and understand how it works, I had a lot of fun building this week.
CLIPS
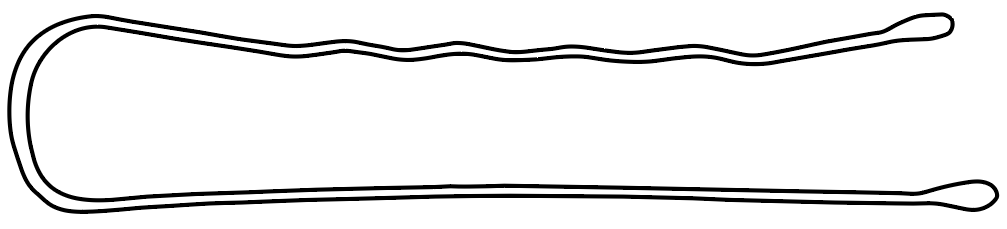
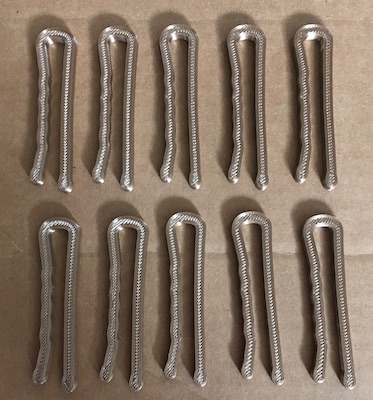
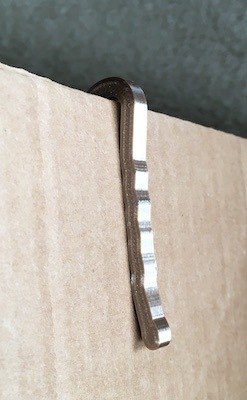
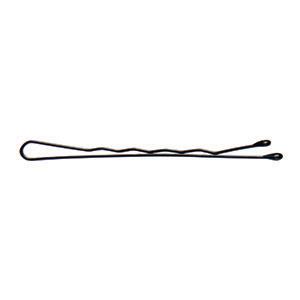
I started working on the clips first. The inspiration for my clips this was a bobby pin. I first found a picture of a bobby pin on the
internet, and then I turned it into a vector in Illustrator, just like in week 1. Because I knew I was going to have to be able to clip two
layers of cardboard together, I adjusted the space between the two sides of the bobby pin to account for that two layers of cardboard are thicker
than strands of hair. Once the vector artwork was finished
I moved it into Rhino, and opened Grasshopper.
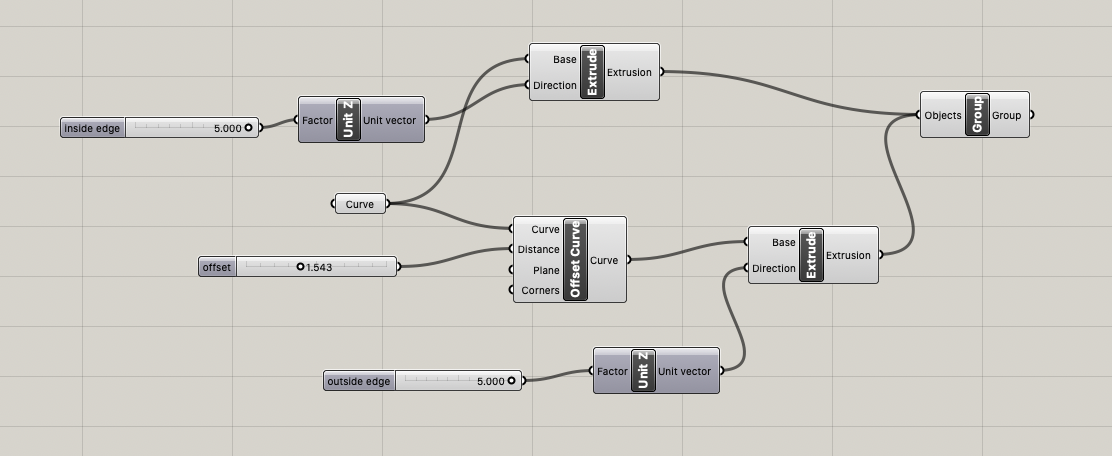
I highlighted the image and set it as a curve in Grasshopper. Next, I added the Offset Curve,
and added a slider to the distance so I could easily adjust the space of the clip as needed. After, I added an extrude for both the original
curve and the offset curve so I could control the height of each of the walls indpendently. My final move in Grasshopper was to group the extrusions
together and bake them. I then put a simple cap on the bobby pin, exported the design with a 0.001 extrusion (understanding how to manipulate
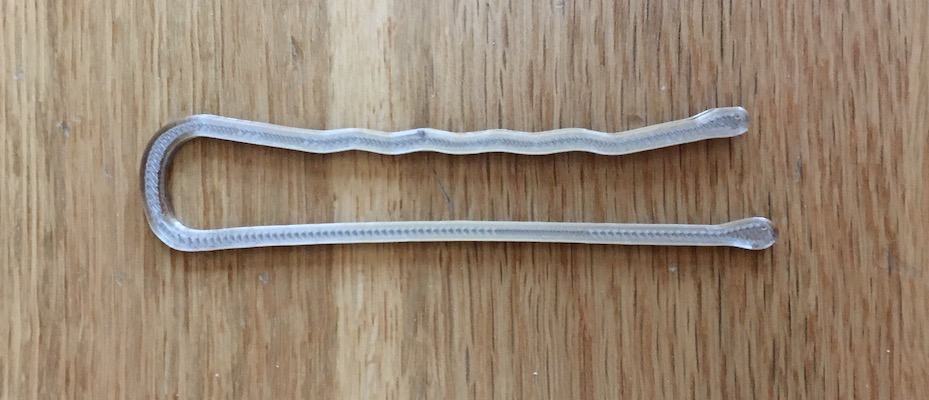
meshes especially on curved surfaces has really helped me this week). I sliced them in Cura with Standard quality settings, with a skirt, changing the
infill pattern to cubic, and updating the mesh resolution and travel resolution to .5. I had to adjust the clip distance after the spacing was wayyyy
too big, but on the next print I was able to print a successful clip with appropriate spacing, and proceeded to print all 10. Don't forget to check out
my shake video below!

Check out my files
Shake test video!Rhino
Grasshopper
STL
Original image
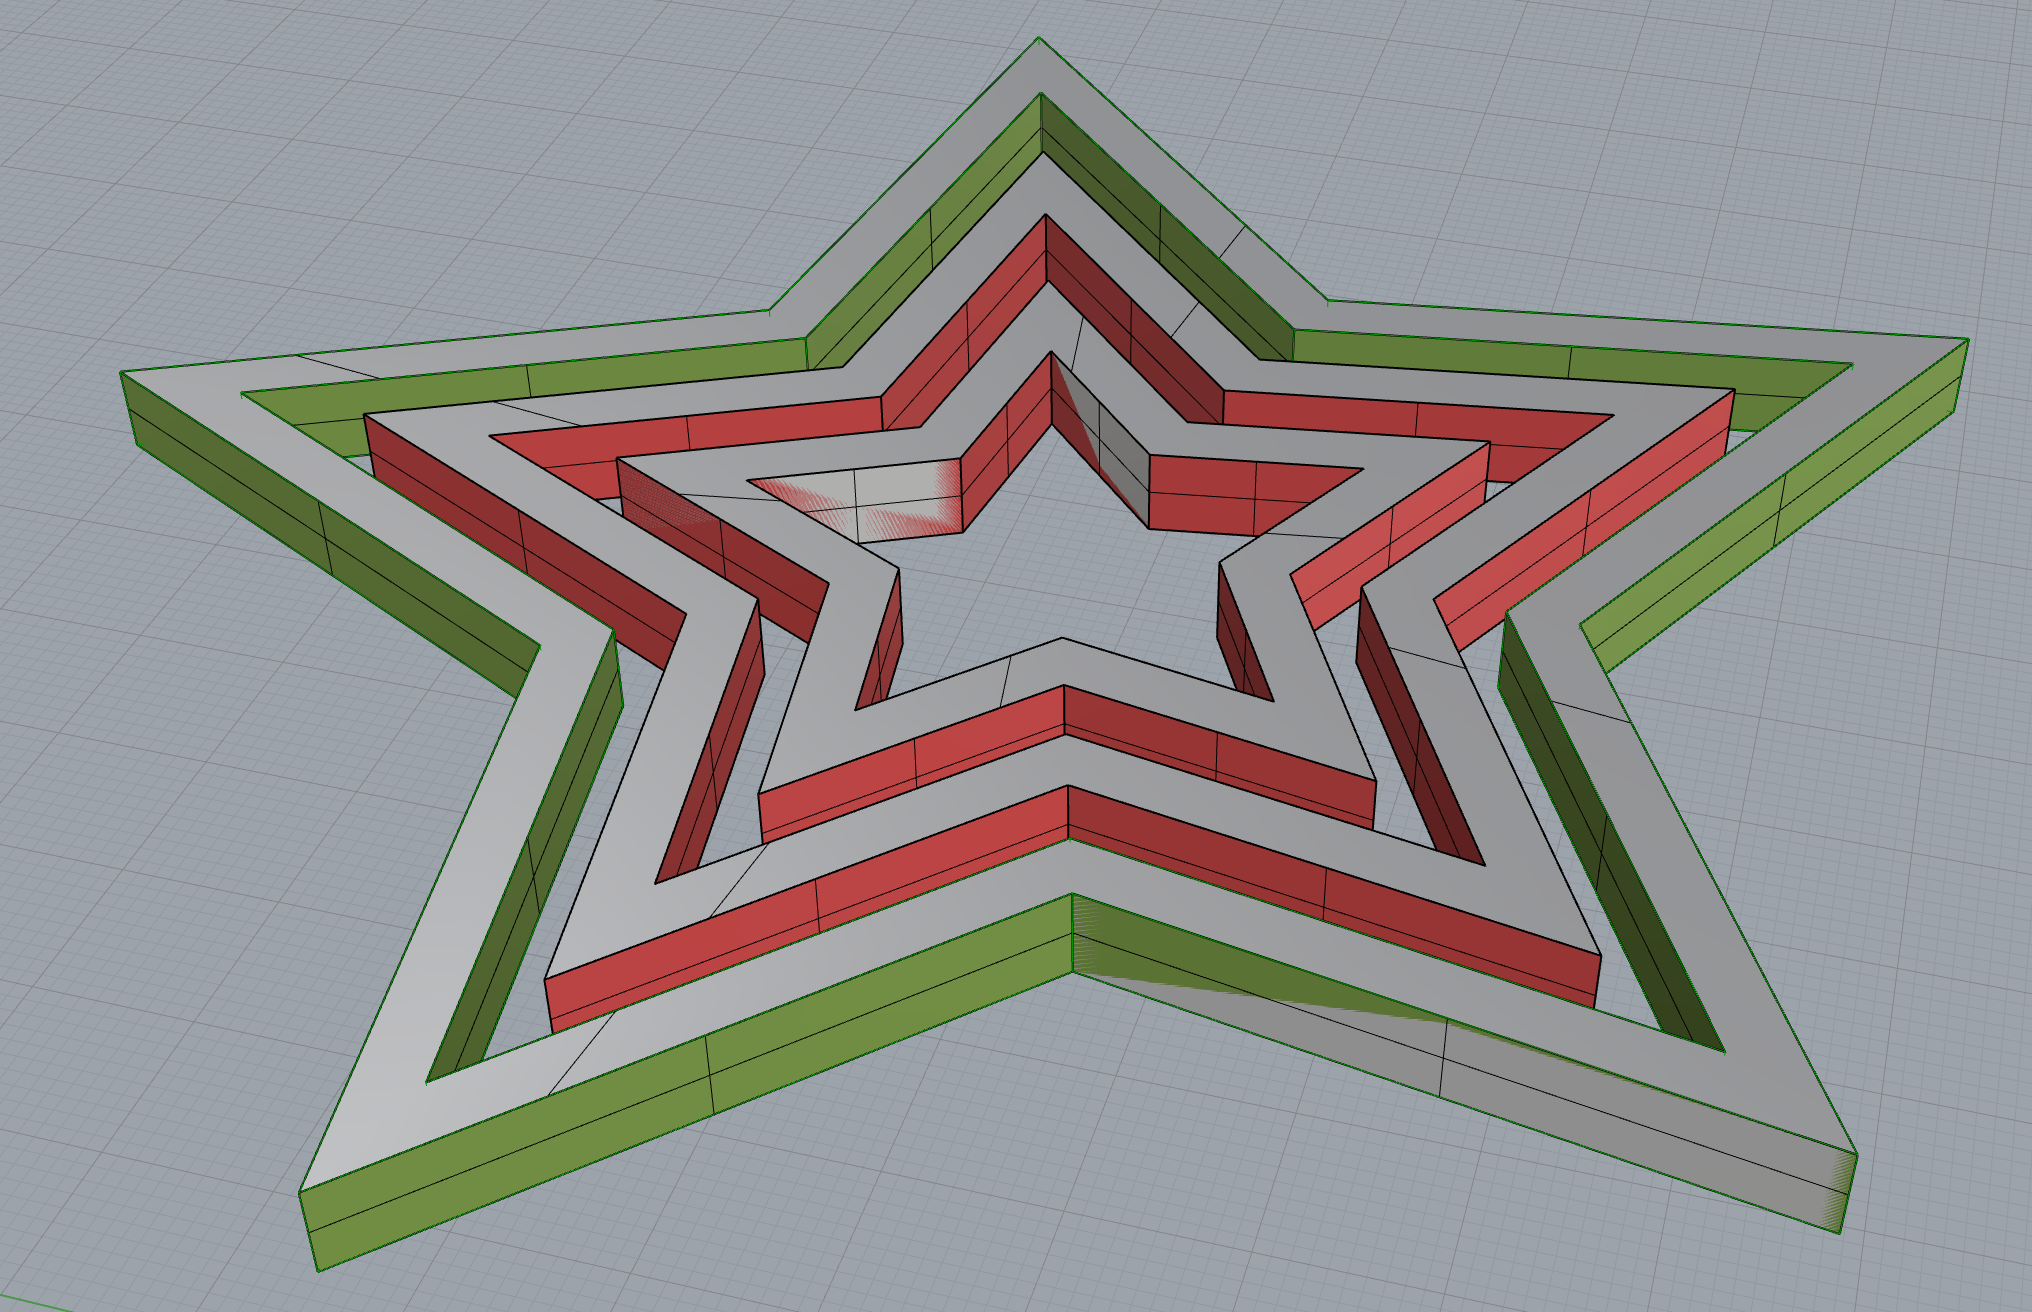
NESTING
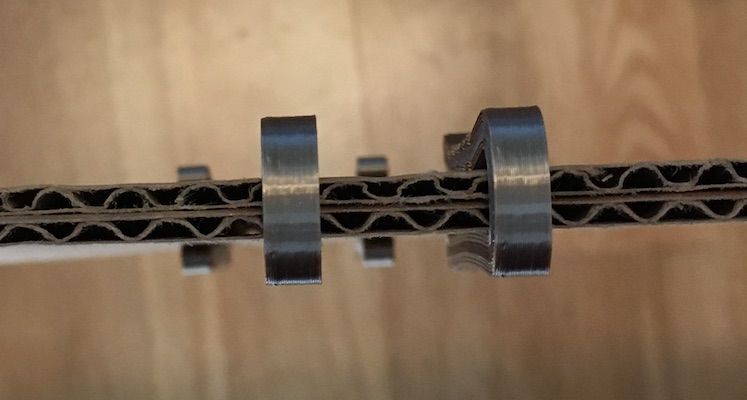
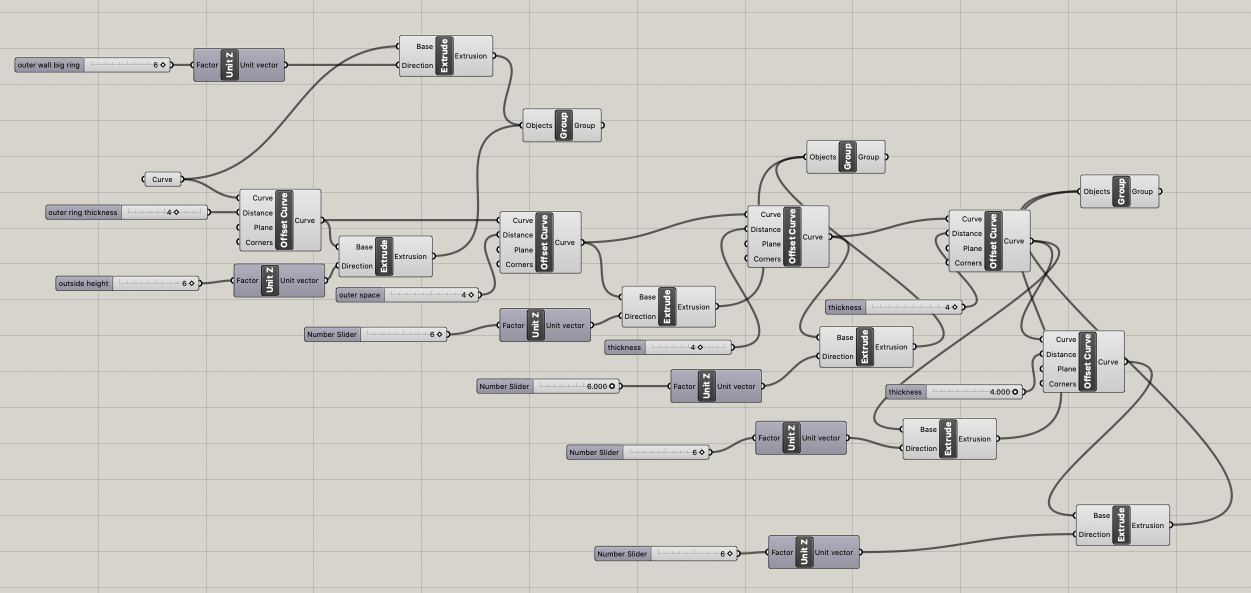
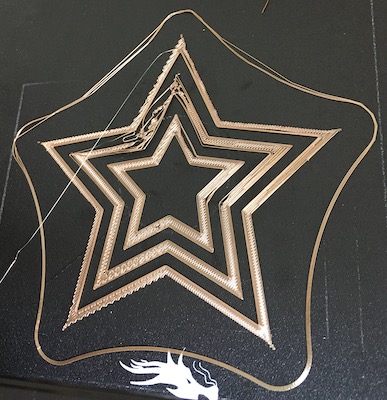
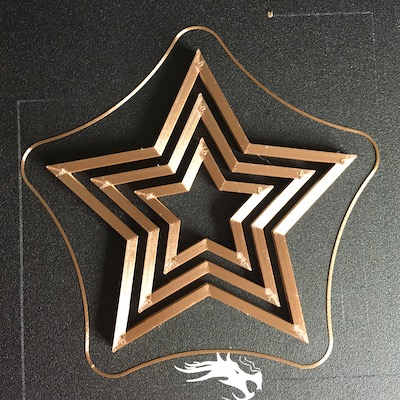
Nesting was an interesting experience, but the instruction from class last week was pretty easy to follow. I first
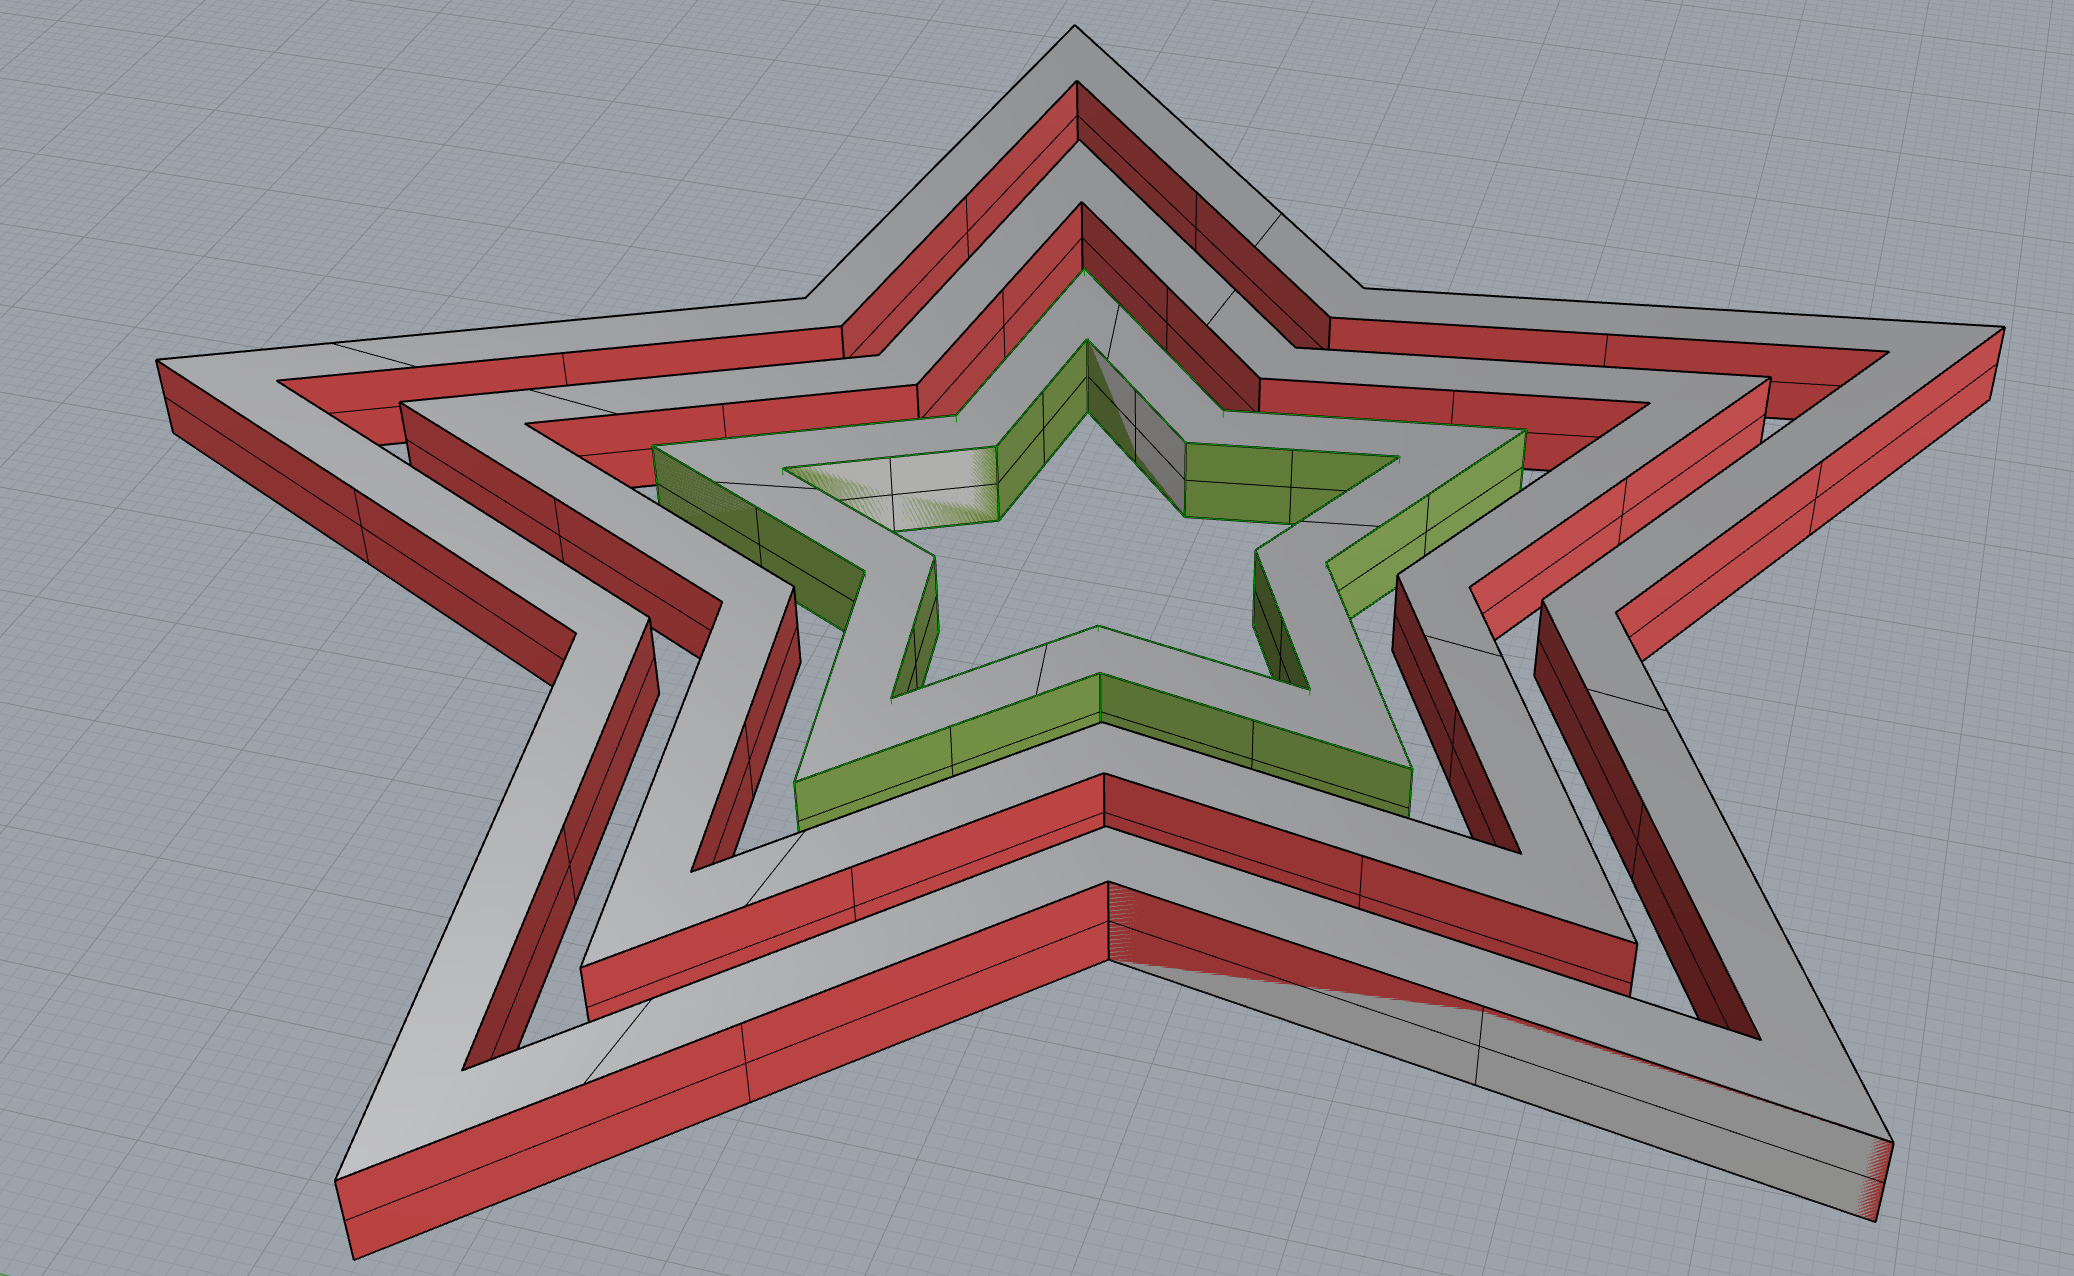
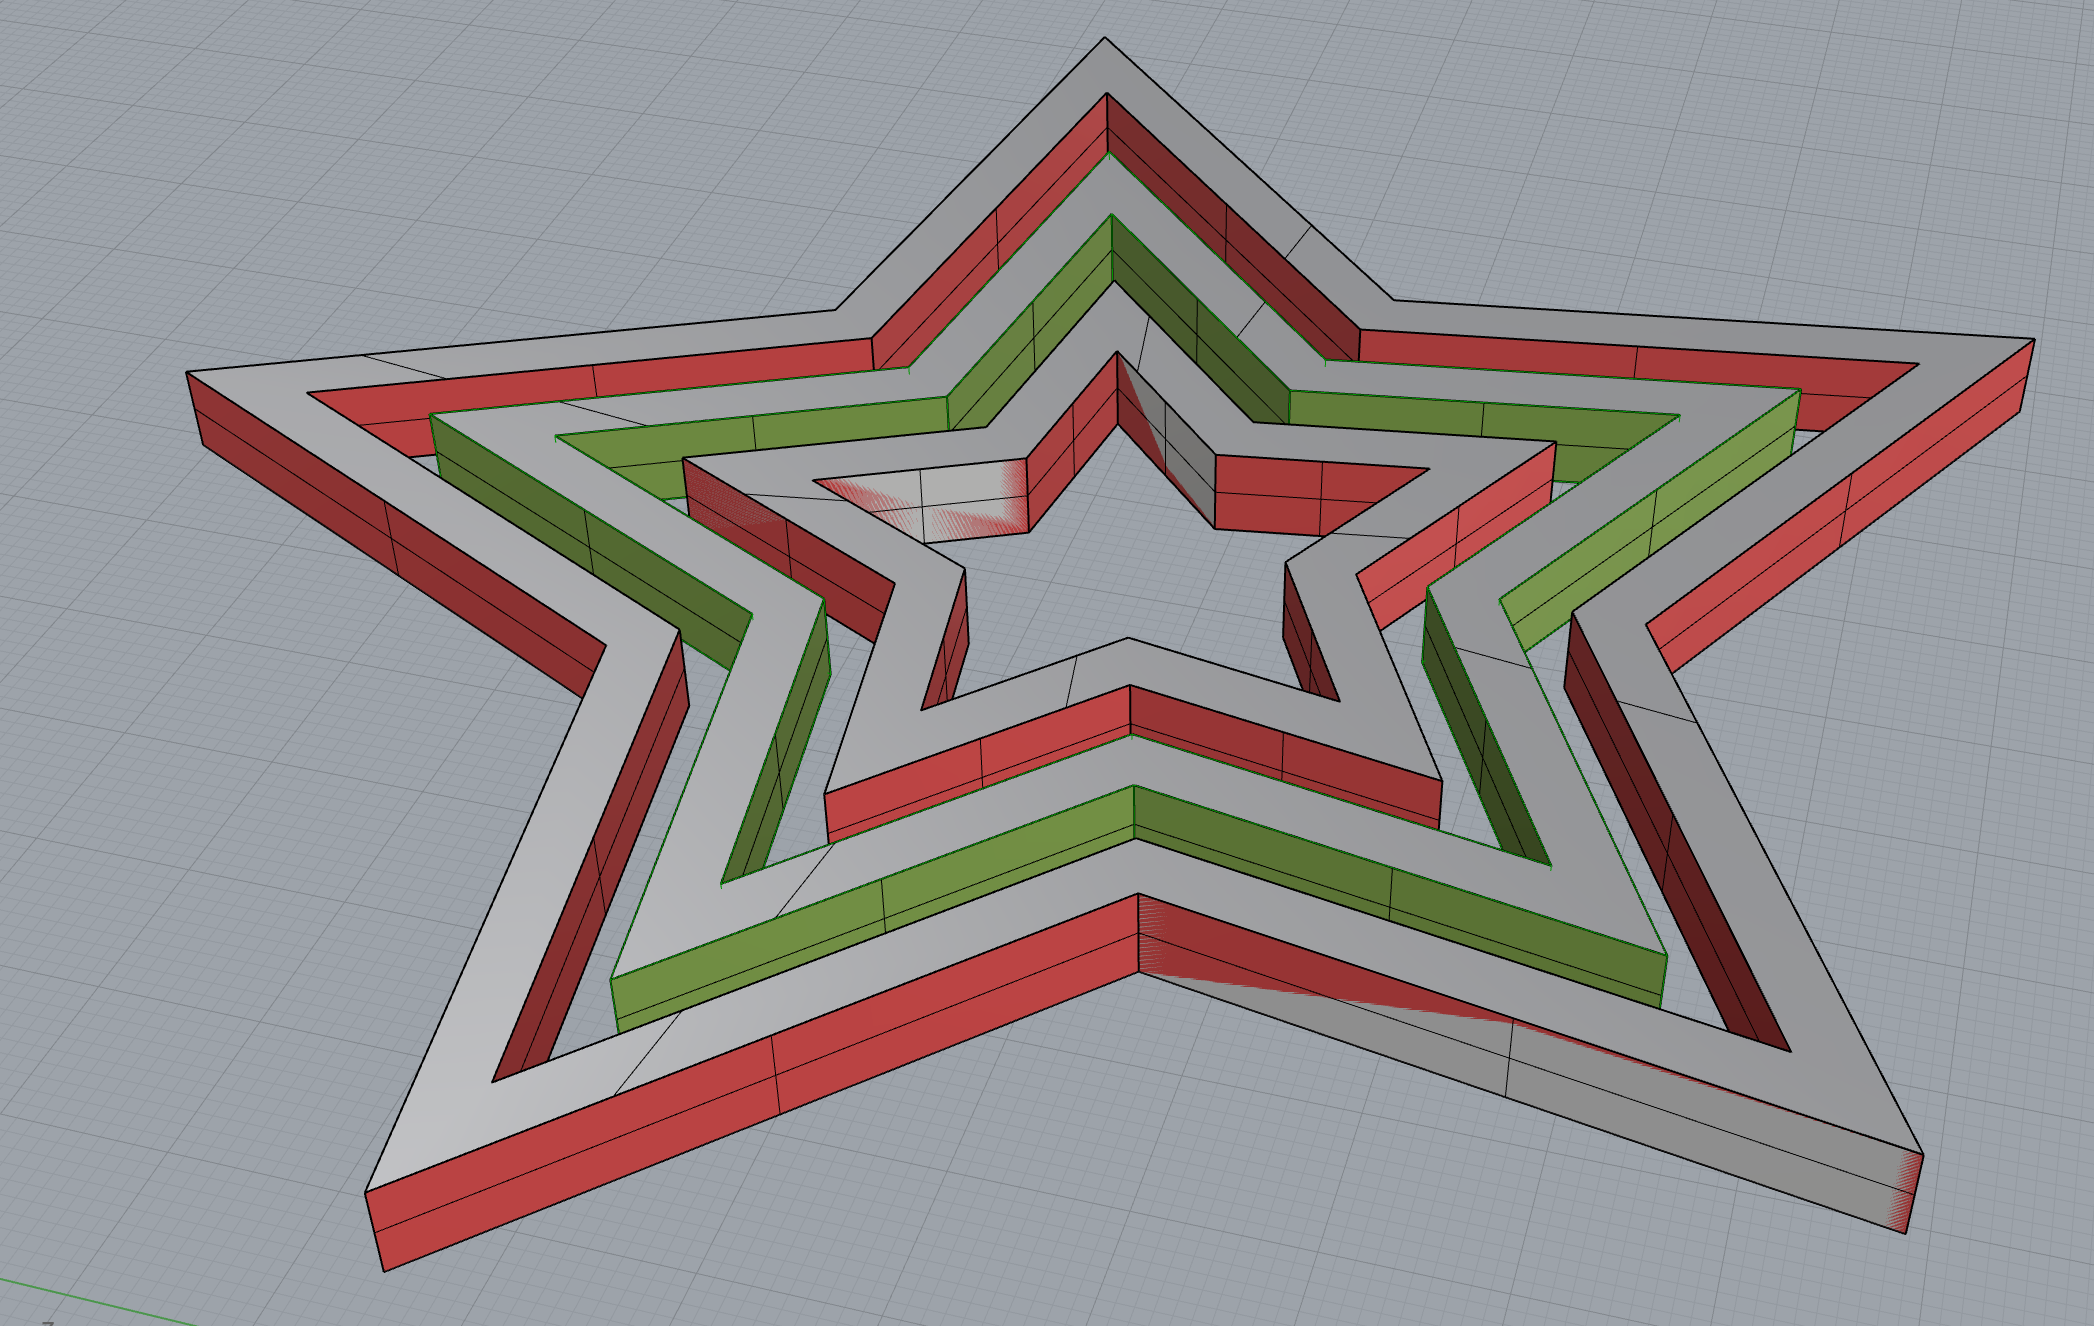
drew a star in Illustrator and imported it into Rhino. I set it as a curve in Grasshopper and then the fun began. I thought the easiest
path to success was to make enough offset curves to be able to generate 3 stars. I made multiple offset curves until I had enough. Next
I created separate extrusioins for each wall (I'll explain later why I did this instead of making them sharing the same slider for extrusion height).
Once all the walls were built and the extrusions were correct, I grouped the walls according to the 3 nests and baked each of them separately.
Next, I capped each in Rhino, but each time I did a Boolean difference to ensure the stars were an outline shape not solid stars. I exported
the design, and because there were no curves, I used 0.00 extrusion. Once in Cura, I sliced this with low quality settings, and infill lines.
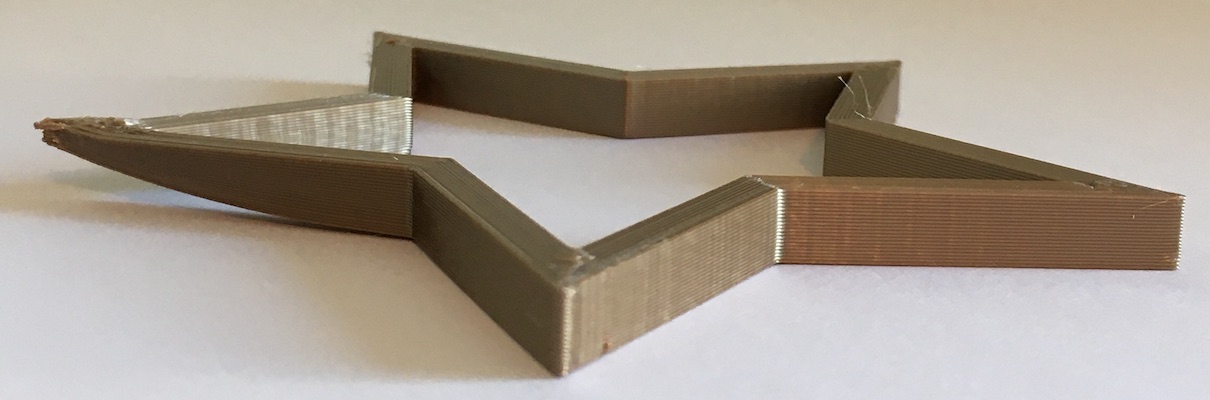
Once the print started I immediately had problems with the top and botton layer pattern settings, but I was able to change the pattern to concentric
so it printed easier. I started my second print and thought it was a success, but then I realized the top point in my middle star had lifted.
This resulted in a quick bed adjustment, and then a successful print. Clocking in around 2 hours, this was the longest print I have completed.
The reason I made each wall have a different extrusion is because I want to try a print where the tops of the stars aren't level, but they gradually
decline from the center star. I haven't finished this yet, but I figured it was easier to add it to grasshopper now instead of waiting until later,
plus it gave me more experience using Grasshopper.
Check out my files
RhinoGrasshopper
STL